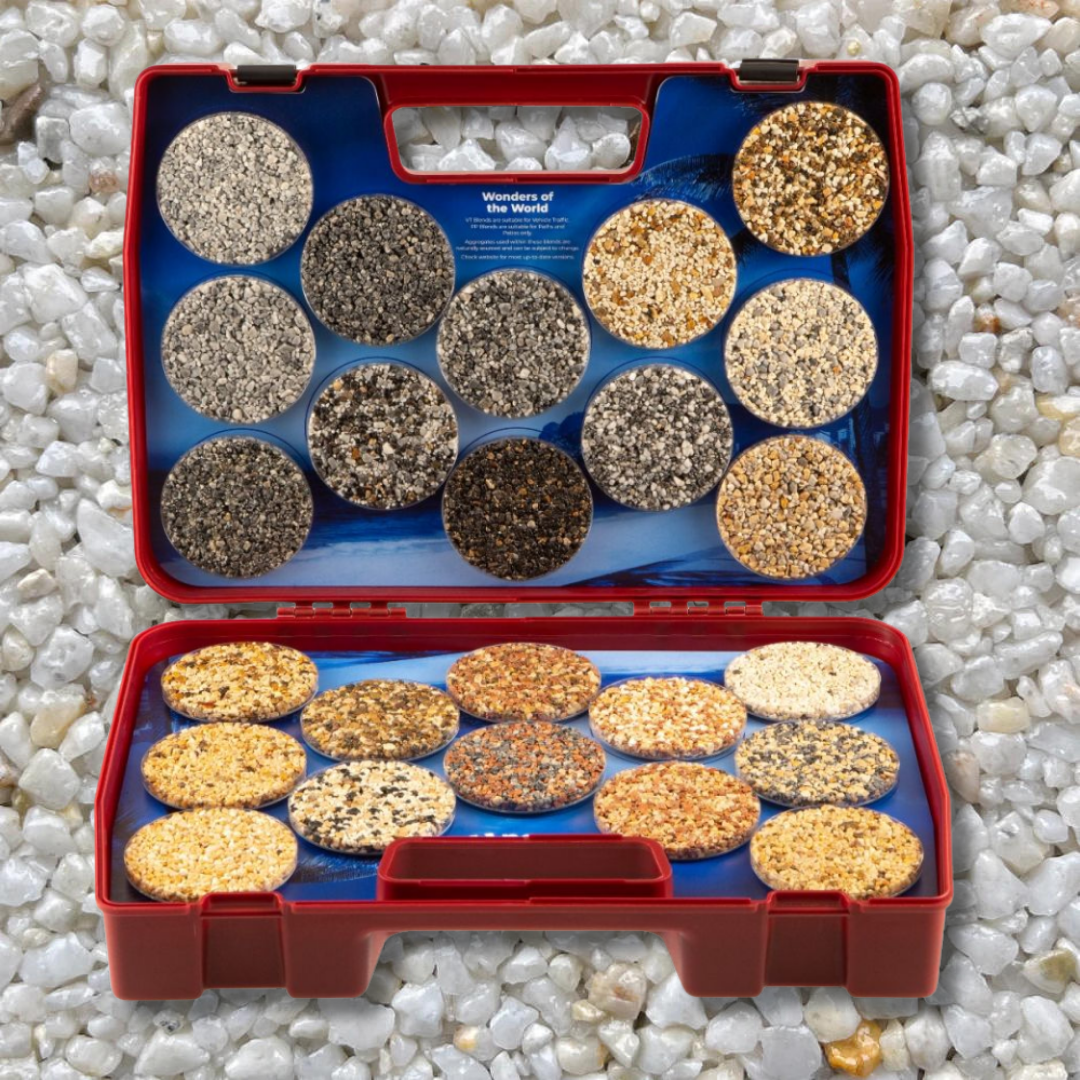
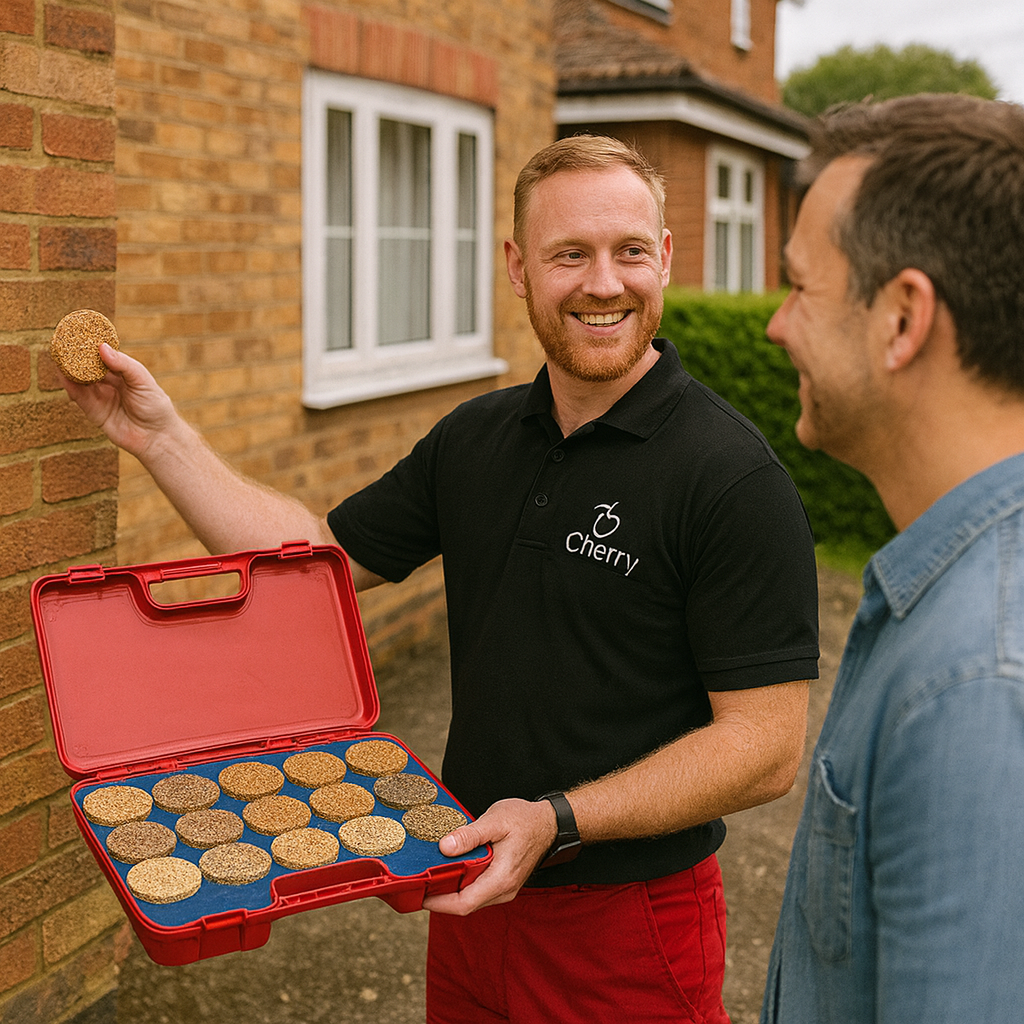
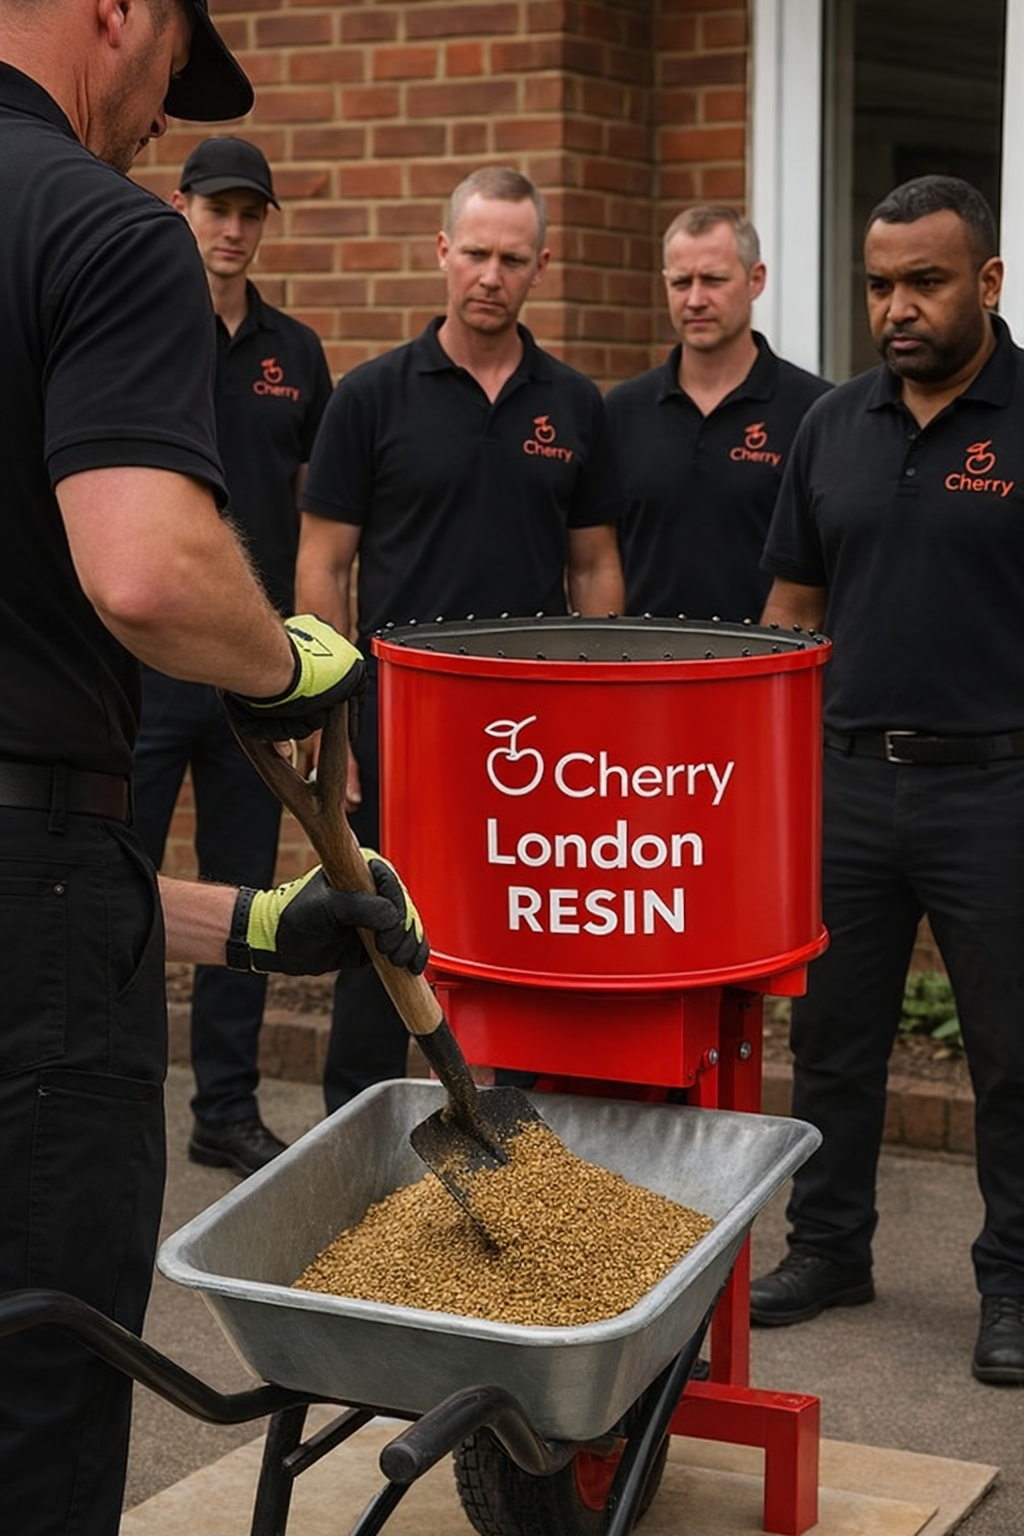
Craftsmanship & Process: Resin Driveway Installation Explained

A premium resin driveway installation depends on the quality of the process behind it. Every surface — driveways, paths, entrances or patio areas — relies on the same six steps that shape strength, durability and appearance. This page provides a clear starting point before you explore and understand:

  • How the installation process works
    A simple outline of the six steps behind every resin surface.

  • What craftsmanship looks like in practice
    The standards and techniques that create a smooth, lasting finish.

  • How different methods compare
    A clear route into the London Resin Method and the Vuba Method.

  • What quality assurance really means
    The checks, controls and expectations explained in plain English.

  • What real results look like
    Links to case studies and reviews for confidence in your choice.

This is the foundation page for everything that follows, giving you a straightforward view of how a professional resin driveway installation should be carried out.

Resin driveway installation - mixing resin with aggregate for London Resin premium resin bound surfacing

6 Essential Steps Behind Every Premium Resin Installation

A well-executed resin driveway installation follows a clear, structured process. The same principles apply to entrances, pathways, patios and outdoor areas, where strength, smoothness and visual consistency depend on precision at every stage.

Each surface is shaped by six essential steps that influence durability, appearance and overall quality. When the process is carried out properly, the result feels solid underfoot, looks seamless from every angle and instantly elevates the approach to your home.

Craftsmanship & Process:


Resin Driveway Installation Explained

These guides cover the essential parts of a premium resin-bound installation, from the first site visit through to after-care. They are helpful if clarity is needed before choosing layouts, blends or dates.

Each link explains one stage of the process so it becomes easier to understand how resin projects are planned, prepared and installed with long-term performance in mind.

  • How a resin installation runs from survey to final finish.
  • Which method fits the property depending on traffic and use.
  • What strong workmanship looks like from base prep to edging.
  • What other homeowners say about the process and the result.
  • What finished layouts look like colour, edging and design ideas.
Homeowner reviewing resin surfacing plans with a site specialist

Resin Installation

A clear walkthrough of the full installation process, from early assessment to the final smooth finish. Helpful for understanding what happens on site and how a high-quality resin surface is built.

Explore the full sequence inside the London Resin Installation Process guide .

Take a closer look
Site assessment and planning for a resin driveway

Vuba Resin Surfacing

A helpful breakdown of the accredited Vuba system, including drainage, base build, timings and layout planning. Clear steps for understanding how the system supports long-term performance.

Find the full sequence inside the Vuba Resin Surfacing Method .

Explore the Method
Vuba resin installation in progress on a driveway

Quality & Protection

A helpful reference for checking standards, guarantees, accreditations and materials. These benchmarks make it easier to ask the right questions and compare proposals confidently.

View the full checklist on the Quality & Assurance page .

Check credentials
Quality certificates and resin samples laid out on a table

Real Feedback

Independent homeowner comments offer an honest sense of what the experience feels like from first visit to final sign-off. Helpful for anyone who prefers real-life insight over brochures.

Read verified reviews on the Cherry Home Improvements reviews page .

Read reviews
Homeowners standing on a finished resin driveway giving feedback

Finished Project Showcase

Real before-and-after transformations help to visualise layout choices, edging lines, colours and solutions for awkward corners or slopes. A useful starting point for shaping a design.

Ideal if sharing ideas with other household members or exploring how a space could look once complete.

Browse case studies
Before and after resin driveway transformation

Ready to talk through the next step?

A short conversation, either on site or by phone, is often the simplest way to confirm layout ideas, blends, timings and suitability for the property.

Homeowner and specialist reviewing resin design options at the front of a house

Craftsmanship & Process – FAQs

What are the six essential steps in a resin driveway installation

A professional resin driveway installation follows a clear sequence of six steps that shape strength, finish and long-term performance. These include assessment, base preparation, priming, blending, laying and curing. Each stage has a direct impact on how smooth, seamless and durable the surface becomes. Understanding this makes it easier to recognise good workmanship and feel confident about choosing resin over alternatives.
If you’d like to understand how resin compares with older surface types such as block paving or bonded gravel, the comparison guide here offers a simple breakdown.

The Landscape Institute also provides helpful external resources on best practice in hard landscaping design.

Why is the base so important in resin driveway installation?

The base determines the reliability of the entire resin driveway installation, whether the surface is a driveway, path, entrance or patio area. A strong base supports drainage, prevents movement and keeps the resin smooth once cured. Any dips, cracks or instability in the existing surface need attention before resin can be laid, otherwise the imperfections will show through the final finish.

For clarity on suitable bases, the base-build resources explain exactly what a resin surface needs.

What does good craftsmanship look like during resin driveway installation?

Craftsmanship is one of the biggest contributors to the final appearance of any resin driveway installation. The stone blend must be mixed to precise ratios, the resin must be spread evenly before curing begins, and the trowelling technique must be controlled to avoid ridges, dips, or texture changes.

Details such as edging, drainage fall, handling around manhole covers and finishing at door thresholds all reveal whether an installation has been carried out professionally. If you’re comparing different application methods, this guide explains the differences between resin-bound and resin-bonded surfaces.

How does weather affect resin driveway installation?

Temperature and weather conditions play a major role in the success of a resin driveway installation. Resin cures through a chemical reaction, and extreme heat, cold or moisture can affect working time, finish quality and overall durability. Installers typically monitor temperature, humidity, and surface conditions carefully, adjusting timings as needed.

If you’re curious about wider standards for permeable surfaces and best practice in water-sensitive design, CIRIA provides valuable guidance.

What should you expect after a resin driveway installation is complete?

After a resin driveway installation, the surface needs time to cure. Light foot traffic may be allowed within hours, but vehicle access usually requires a longer wait, depending on the temperature. Once cured, the surface should feel smooth underfoot with a consistent texture and colour.

For general care advice, including how to keep the driveway looking smart with minimal effort, the afterare guides provide clear instructions.

The Driveway Glow

Smooth, seamless, and made to last through every British season.

Garden Zone Style

Define dining, relaxing or entertaining in true low-maintenance charm.

Pathways with Flow

Beautifully edged and sure-footed, guiding every step with quiet confidence.

Pool & Spa Perfection

Naturally slip-resistant and dry underfoot thanks to the porous finish.